Contents
SecureBoot is a way to ensure the integrity of a system by configuring it to only boot if the images (programs) being loaded are signed by an authorized source. This is true of physical machines, but also of virtual machines, and by extension, cloud instances. However, I recently discovered that in AWS, an AMI of the popular Ubuntu operating system, when running on arm64 instance types such as t4g.nano, didn’t have SecureBoot enabled. So I sought to fix that, and discovered that while it is quite simple to do, it’s not very obvious. Here’s a tutorial and some explanation that will probably be useful for x64_64 and arm64 systems alike, but was written purely based on my own use case, so adapt and test as necessary and report back what you find!
Assumptions
Here’s what we’re assuming here:
- We want to boot a standard OS that has images built upon Microsoft’s trust chain for SecureBoot - the one pre-installed into most UEFI-enabled PCs.
- We’re OK with keeping a private AMI and root volume snapshot for the purposes of enabling this feature, and the costs associated with that.
- We understand this doesn’t allow us to trust images that we sign ourselves.
- We know our way around the AWS CLI and a shell.
The case study
If you launch an ARM based instance in EC2, then unlike for X86, it’s guaranteed to use UEFI to boot. So, provided the hypervisor supports SecureBoot, you can benefit from the integrity features that comes with, meaning your kernel and its modules can’t easily be tampered with.
If you launch an AMI from AWS, invariably you’ll find they don’t have SecureBoot enabled, that’s the case for Amazon Linux and is the same for the Ubuntu AMI I was using. This appears true regardless of architecture. You can verify this by launching an instance, SSH’ing into it, and then as root checking dmesg:
   ,     #_
   ~\_  ####_        Amazon Linux 2023
  ~~  \_#####\
  ~~     \###|
  ~~       \#/ ___   https://aws.amazon.com/linux/amazon-linux-2023
   ~~       V~' '->
    ~~~         /
      ~~._.   _/
         _/ _/
       _/m/'
[ec2-user@ip-172-31-2-184 ~]$ sudo su -
[root@ip-172-31-2-184 ~]# dmesg | grep -i secure
[    0.165434] ima: secureboot mode disabled
[root@ip-172-31-2-184 ~]# uname -srm
Linux 6.1.66-91.160.amzn2023.aarch64 aarch64
Here’s an example from Ubuntu 22.04:
root:~# dmesg | grep -i secure
[    0.000000] secureboot: Secure boot disabled
   ...
[    0.423305] ima: secureboot mode disabled
root:~# uname -srm
Linux 6.2.0-1017-aws aarch64
Amazon give instructions on UEFI secure boot, but they’re clunky, so I wanted to condense it into a set of obvious steps for people.
The steps
I’ll start with a by-hand approach, then later show you a script that automates as chunk of it.
1. Get the Microsoft keys
SecureBoot needs the UEFI to be loaded with a bunch of keys, particularly a platform key (PK), key exchange key (KEK) and a key database (db). Normally these come from Microsoft. Large distributions like Ubuntu use a bootloader shim that’s signed by Microsoft, and then they can implement signing and integrity checks with their own keys after that. It’s enough to get Microsoft-trusting systems to boot Linux with SecureBoot. Additionally, there’s a list of revoked/untrusted signatures (dbx) that can be updated so that any compromised or misbehaving image can be excluded from SecureBoot.
Ordinarily, Microsoft’s PK, KEK, db and dbx are pre-loaded into a system when its shipped (and things like the dbx updated periodically). So what about VMs? For hypervisors such as KVM/QEMU, there’s the OVMF firmware for virtualized UEFI. In turn, this can load UEFI variables that include the required keys, such as those found in /usr/share/OVMF/OVMF_VARS.ms.fd in the ovmf package on Ubuntu and other distributions.
So we could extract those keys from there, but somebody at Canonical made it slightly easier, with a tool specifically for AWS, which fetches the keys from Microsoft and then builds a UEFI variable blob compatible with the variable store used by AWS when creating SecureBoot enabled machines.
To make your life even easier, here’s the blob, in base64 format, as of the time of writing:
QU1aTlVFRkni4yd4AAAAAHj5a7fZ94NNtzFB6QBvHSgLPQh1kFZboAN096ljUaNA5GJgmIu8Xb1h
sUbN2EQ0pUdeiwuXmylcMYdSH4xO5wzUdM5IazkxMoyOq4/scXVqVjuwCjAlyQFHrQMTV2HDVuuw
CQBrnR+wWofj8hGwWpahVOvQaJEqLjcjZuGwu3m0Xz/arx/KtdPo+oiRvT4CfVqAktoJAPbjzLE=
It’s only got three variables encoded into it: an empty PK signature list, Microsoft’s KEK signature list, and their database signature list. It’s formatted for AWS.
2. Copy the image you want
You can’t inject UEFI variables into existing AMIs, because they are immutable. And, to my knowledge, you can’t create AMIs using disk snapshots that you don’t own. So, first, we have to copy a public AMI to our own AWS account in order to get a new snapshot that we can work with when creating a SecureBoot enabled AMI.
aws ec2 copy-image --name tmp-img --source-image-id $SRC_AMI --source-region $SRC_REGION
You need to substitute the variables $SRC_AMI and $SRC_REGION with your desired AMI and its region, for example I used ami-05f8c2ee58e71f8e6 in ap-southeast-1, because that’s a recent packaging up of Ubuntu Server 22.04 LTS that I wanted to use, and it’s where I live. You’ll then get your own new AMI image ID.
Now we must wait for it to copy, which includes the new disk snapshot. You can check on the AMI’s status in the AWS console, or via the CLI. Wait for it to be available.
3. Get the snapshot ID
Your copied AMI now has its own disk snapshot for the boot volume. Get that value:
aws ec2 describe-images --image-id $IMAGE_ID
Here’s an example:
{
    "Images": [
        {
            "Architecture": "arm64",
            "CreationDate": "2024-01-04T12:15:45.000Z",
            "ImageId": "...",
            "ImageLocation": "...",
            "ImageType": "machine",
            "Public": false,
            "OwnerId": "...",
            "PlatformDetails": "Linux/UNIX",
            "UsageOperation": "RunInstances",
            "State": "available",
            "BlockDeviceMappings": [
                {
                    "DeviceName": "/dev/sda1",
                    "Ebs": {
                        "DeleteOnTermination": true,
                        "SnapshotId": "snap-xyzzy",
                        "VolumeSize": 8,
                        "VolumeType": "gp2",
                        "Encrypted": true
                    }
                }
            ],
            "EnaSupport": true,
            "Hypervisor": "xen",
            "Name": "secboot-test",
            "RootDeviceName": "/dev/sda1",
            "RootDeviceType": "ebs",
            "SriovNetSupport": "simple",
            "VirtualizationType": "hvm",
            "BootMode": "uefi"
        }
    ]
}
The part in BlockDeviceMappings with an EBS volume, you want the SnapshotId, which obviously won’t be snap-xyzzy for you.
4. Create the new AMI
The below command is the bare minimum needed to create the new AMI. You may need to adjust or add some options to suit your needs. Essentially, we’re creating a new AMI with the existing snapshot, and adding the UEFI data to it. We assume the base64-encoded UEFI data is stored in a file aws-uefi-data.b64 without any newlines. And we assume you choose the $SNAPSHOT_ID based on the previous step, along with a suitable $DST_NAME as the name of your new AMI. We omit some useful fields, such as descriptions.
ws ec2 register-image --name $DST_NAME --uefi-data $(cat aws-uefi-data.b64) \
    --block-device-mappings "DeviceName=/dev/sda1,Ebs={SnapshotId=$SNAPSHOT_ID}" \
    --architecture arm64 --root-device-name /dev/sda1 --virtualization-type hvm --ena-support --boot-mode uefi
Now wait for this new AMI to be in status available, just like with the one you copied earlier. It should be quicker, because there is no new snapshot to make.
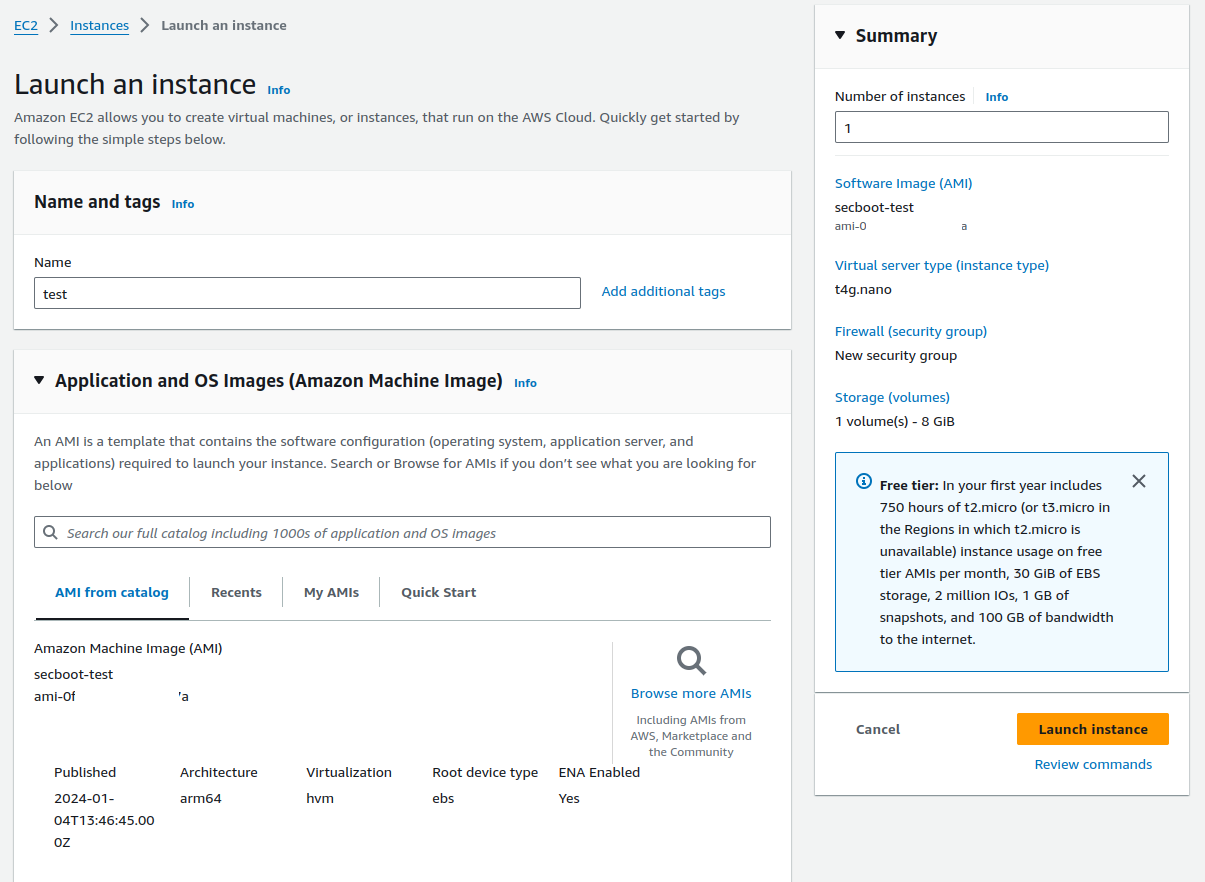
5. Run it
You can now launch this AMI, for example from the AWS console.
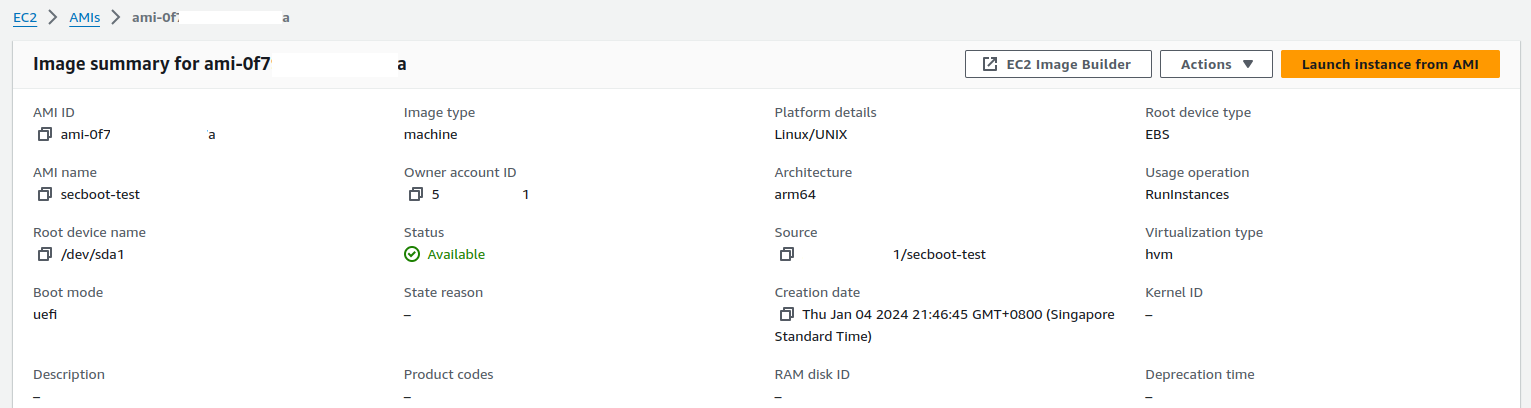
One you’ve got your VM running, connect to it and take a look at dmesg to see the difference!
root@ip-172-31-10-122:~# dmesg | grep -i secure
[    0.000000] secureboot: Secure boot enabled
[    0.000000] Kernel is locked down from EFI Secure Boot mode; see man kernel_lockdown.7
   ...
[    0.425613] ima: secureboot mode enabled
root@ip-172-31-10-122:~# uname -srm
Linux 6.2.0-1017-aws aarch64
The above, but as a script
To automate a bunch of this, I wrote a simple bash script. It makes a lot of assumptions, but should be easier to adapt than the AWS instructions and tools, and embeds the MS keys as a UEFI string, just like how those keys are packaged in ovmf.
You can find the script as a GitHub gist. Here’s an example of me running it to create a SecureBoot enabled Ubuntu AMI:
./aws-uefi-ms-sb.sh ami-05f8c2ee58e71f8e6 ap-southeast-1 secboot-test
Need to copy image
New AMI will be: ami-0f[REDACTED]5
Waiting for image to be copied and available..................................................Done!
New snapshot is snap-02[REDACTED]a
Adding UEFI vars to a new AMI based on the snapshot
Waiting for new AMI ami-0f[REDACTED]a to be available...Done!
You can now launch a SecureBooted EC2 instance using ami-0f[REDACTED]a!
It took around 10 minutes to create, with 99% of that time being copying the public AMI to a new snapshot. Be mindful that running this gist will create snapshots that are billable to you. Running it multiple times without short-cutting the image copy process will create multiple snapshots billable to you. It’s your responsibility to manage that, as this is just a code snippet and not production software.
You will have two AMIs linking to a single EBS snapshot. Keep that in mind when de-registering old AMIs and deleting snapshots!
Other notes
Things I thought of, or explored, while doing this, that aren’t part of the actual steps.
Why not just edit your instance?
Before going the above route, I actually just wanted to enable SecureBoot in an existing ARM64 UEFI instance. Amazon has instructions for enrolling keys within an instance, which could be done with the Microsoft keys, so I tried to follow that. However, I hit a problem with the efi-updatevar commands that it tells you to run: invalid argument or Operation note permitted.
After doing some reading I found that the way the Linux kernel provides access to manage EFI variables means that they are usually immutable (cannot be altered), although this can be changed with the chattr command. However, this didn’t work for me. As I’ve only been working on arm64 instances, it’s possibly an issue limited to that architecture’s virtualization in AWS, but I don’t know for sure.
Won’t the AMI snapshot cost money?
Yes! But it won’t be a lot. Do be careful though, particularly if spinning my code snippet into some full-scale automation, as you might end up with a lot of snapshots being used.
Why bother?
Why not? All the infrastructure is in place to provide assurance over the integrity of your VM’s boot process, kernel and its modules. The kernel provides additional lockdown features, which (arguably) when combined with Secure Boot should reduce the malleability of a critical part of your VM.
Why isn’t this the default?
Not all distributions of Linux will want to, or need to get a shim signed by Microsoft, and for other chains, extra effort it needed to enroll those custom keys. It seems reasonable not to use Microsoft’s keys by default outside of OEM PCs. I do suspect that some default options for SecureBoot might work their way into cloud platforms in the future, though!
Conclusion
SecureBoot can be enabled in AWS for systems that use the UEFI boot method. It requires adding some UEFI variables. I didn’t find much information online regarding doing this for ARM based VMs (although I didn’t look that hard), so I tried it myself, then decided to share my process and thoughts here. Perhaps others will find it useful. If you do, let me know!